Sometime when we first begin to play piano, we learn a few basic hand positions so we can know where our hands go on the piano. And usually we learn one hand position at a time and stay there for several pages or units in your book. Sometimes it can get a little confusing when you’re first starting out, trying to remember where your fingers go. And when you start to learn several hand positions it can become even more confusing. Before you know it, all you see in front of you is a black-and-white blur and you end your practice session in frustration.
I began creating miniature keyboard charts for my very young piano students when they would just be starting out in their first book. They weren’t even using music letters yet, just finding patterns on the keys. Once I began making keyboard charts for them and using them every week in their lessons, I started to realize that some of my other students, both older kids and adults, might benefit from them as well.
I created the charts to stand behind the keys so you can easily match it up to the correct keys on your personal keyboard at home, as well as the piano in the lesson. Each card shows the letters and their placement on the keys, and I color-code them to distinguish from Right Hand and Left Hand.

Check out the list below of the hand positions available. I don’t include all hand positions, as some are a little more advanced. But these cover most of the hand positions that start on white keys. Feel free to print one (or all) of them to help you in your practice at home. I would suggest printing them out on cardstock and laminating them to keep them looking nice for many practices ahead!
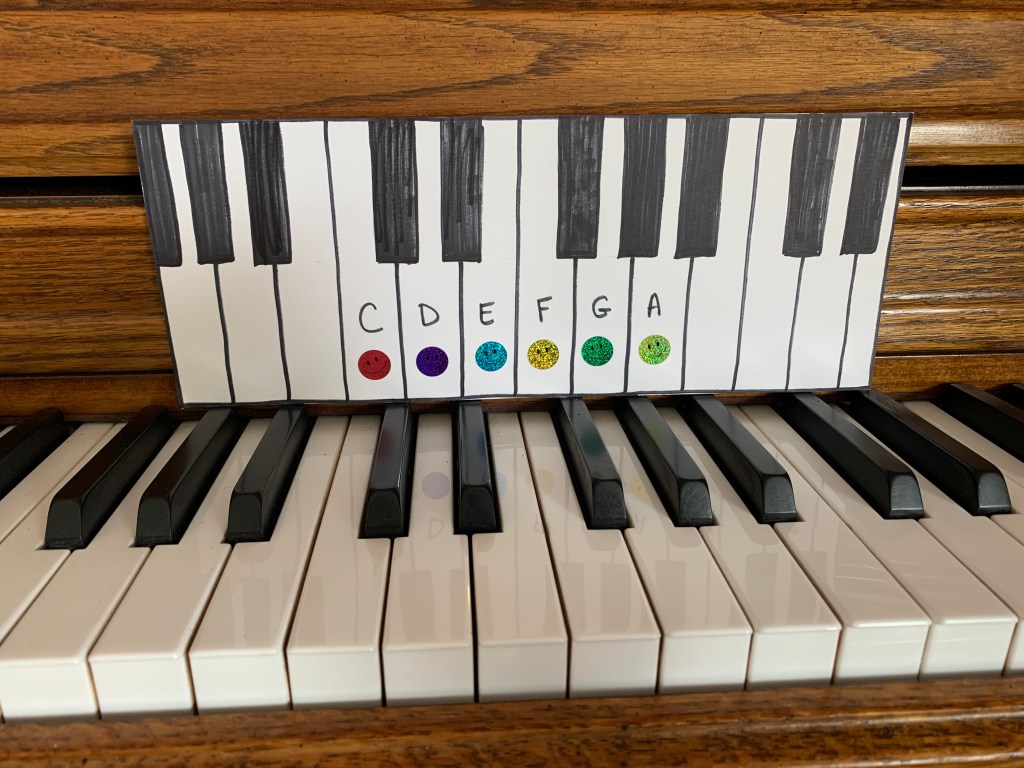
If your child is using the My First Piano Adventure series, Lesson Book A, on p20-21, they learn how to play Twinkle Twinkle Little Star by showing different colored stars to follow. This chart is made especially for that piece…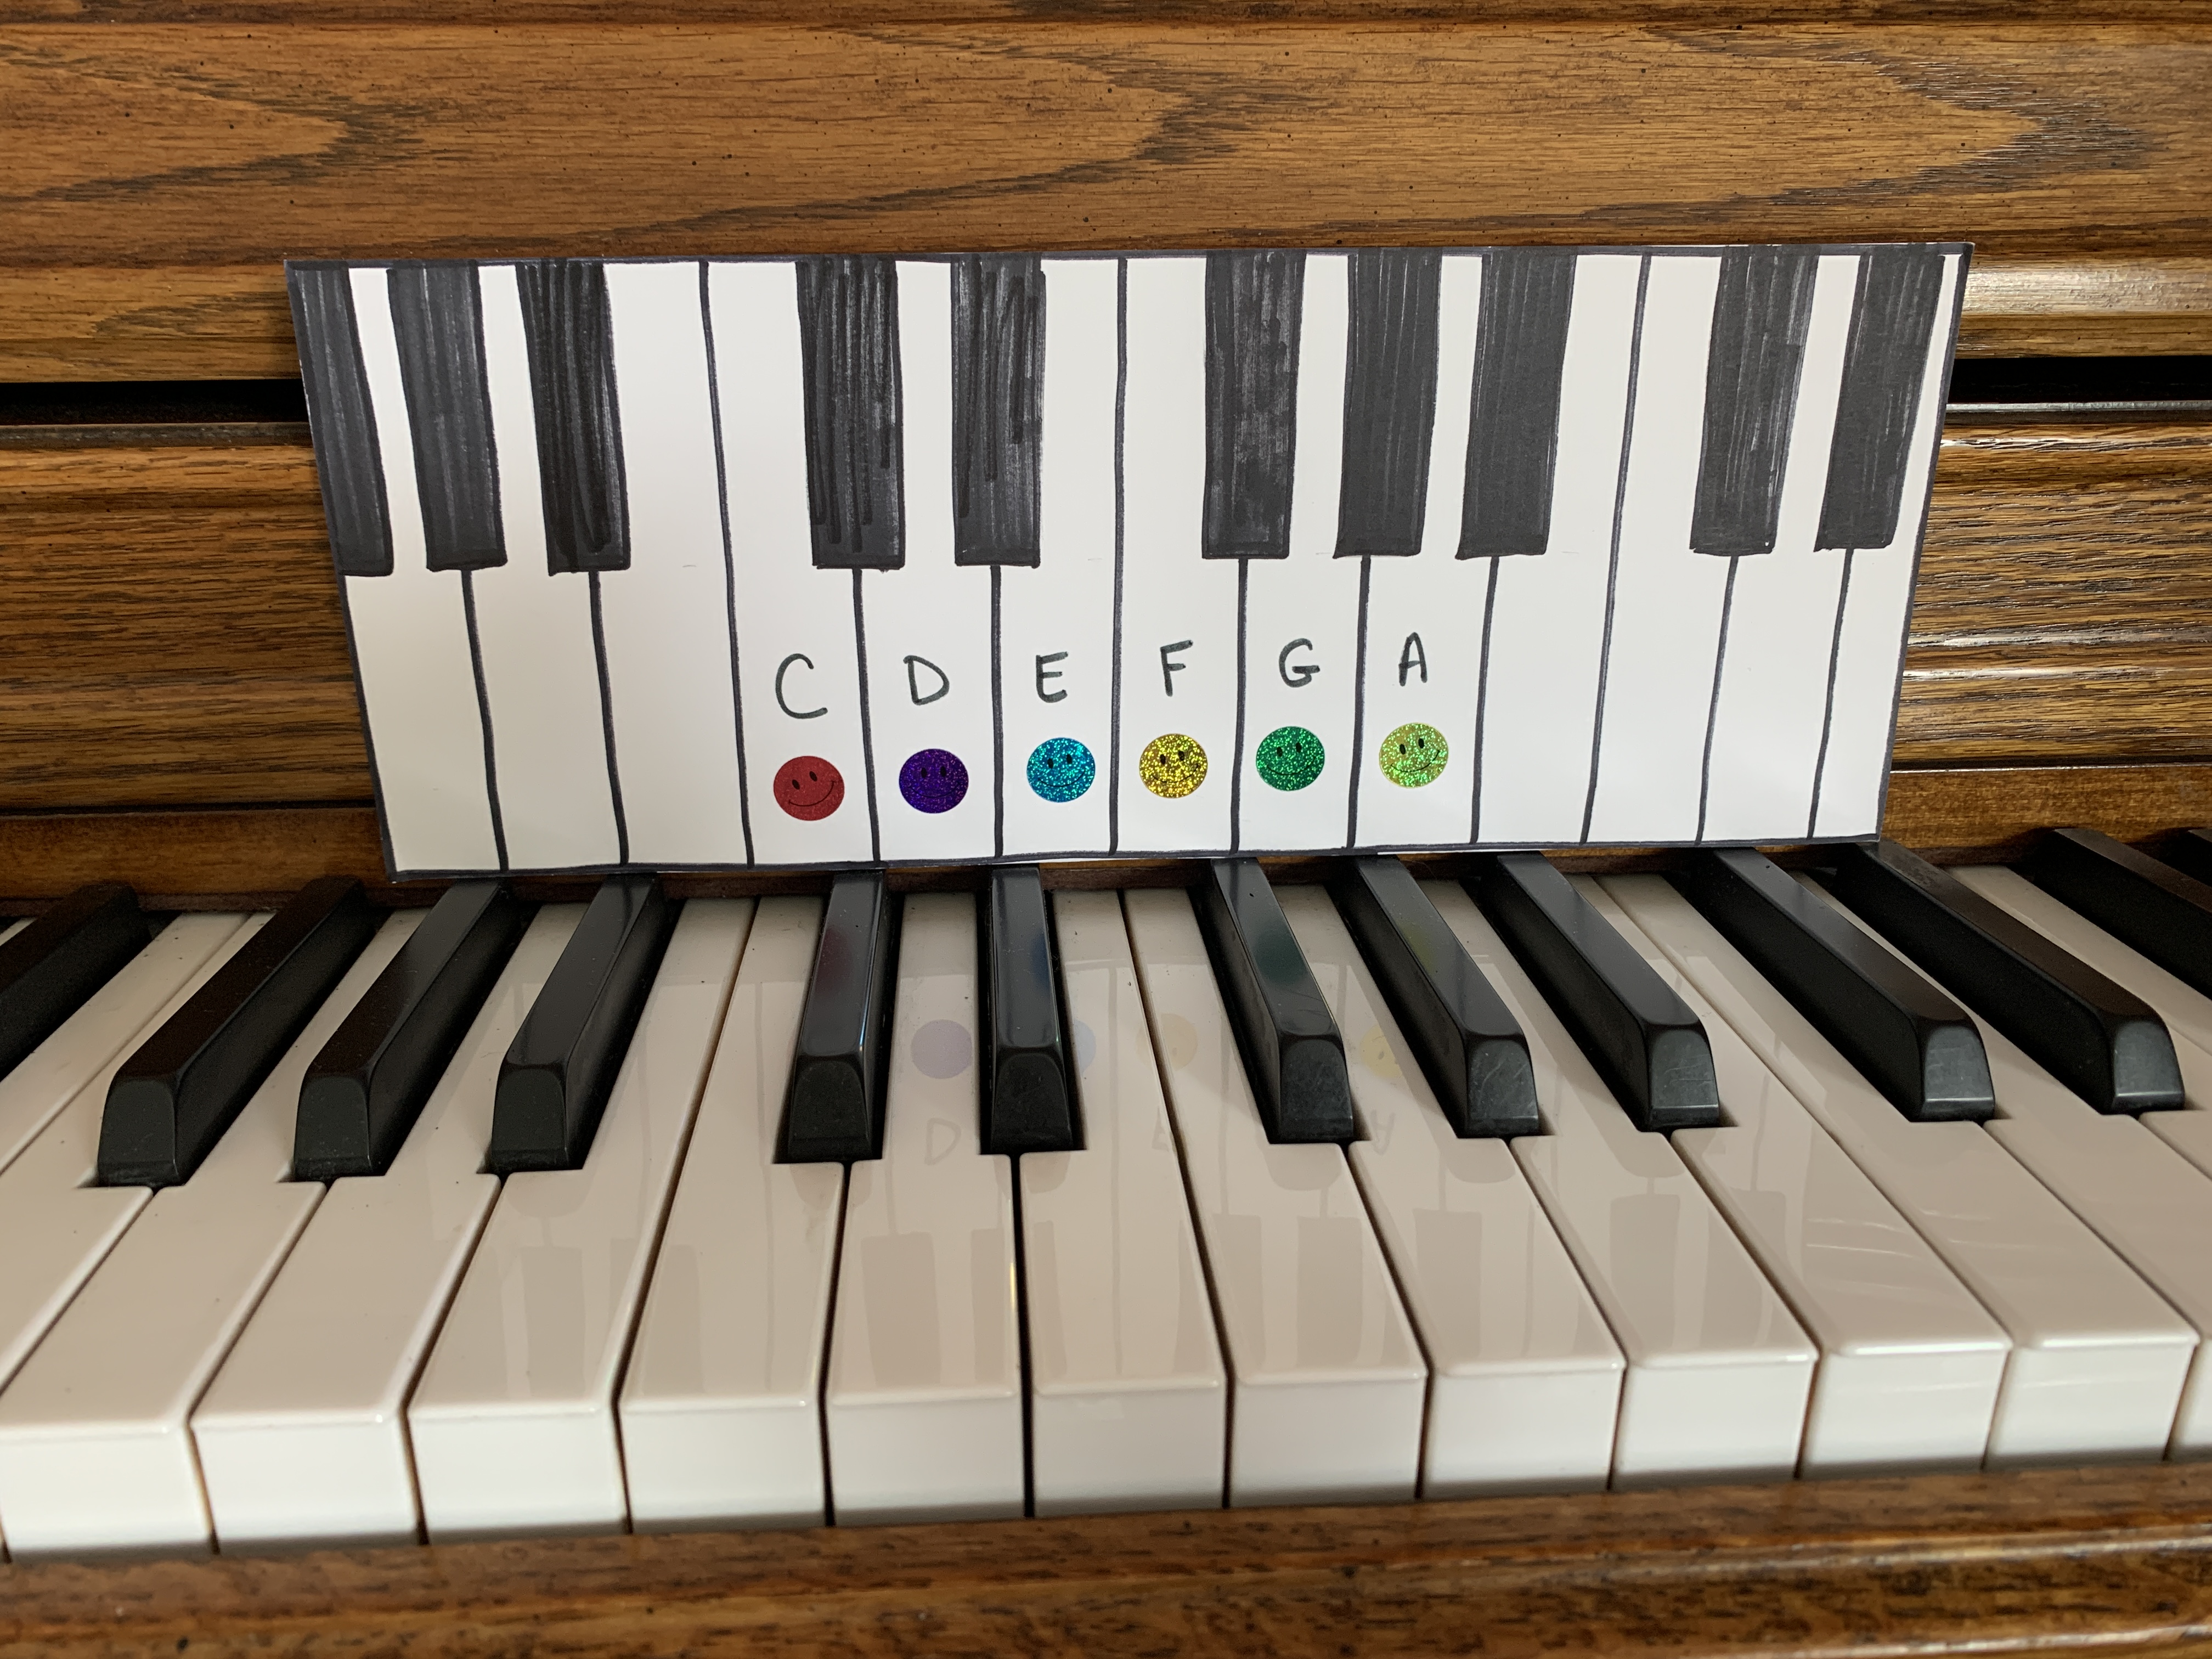
Middle C Position…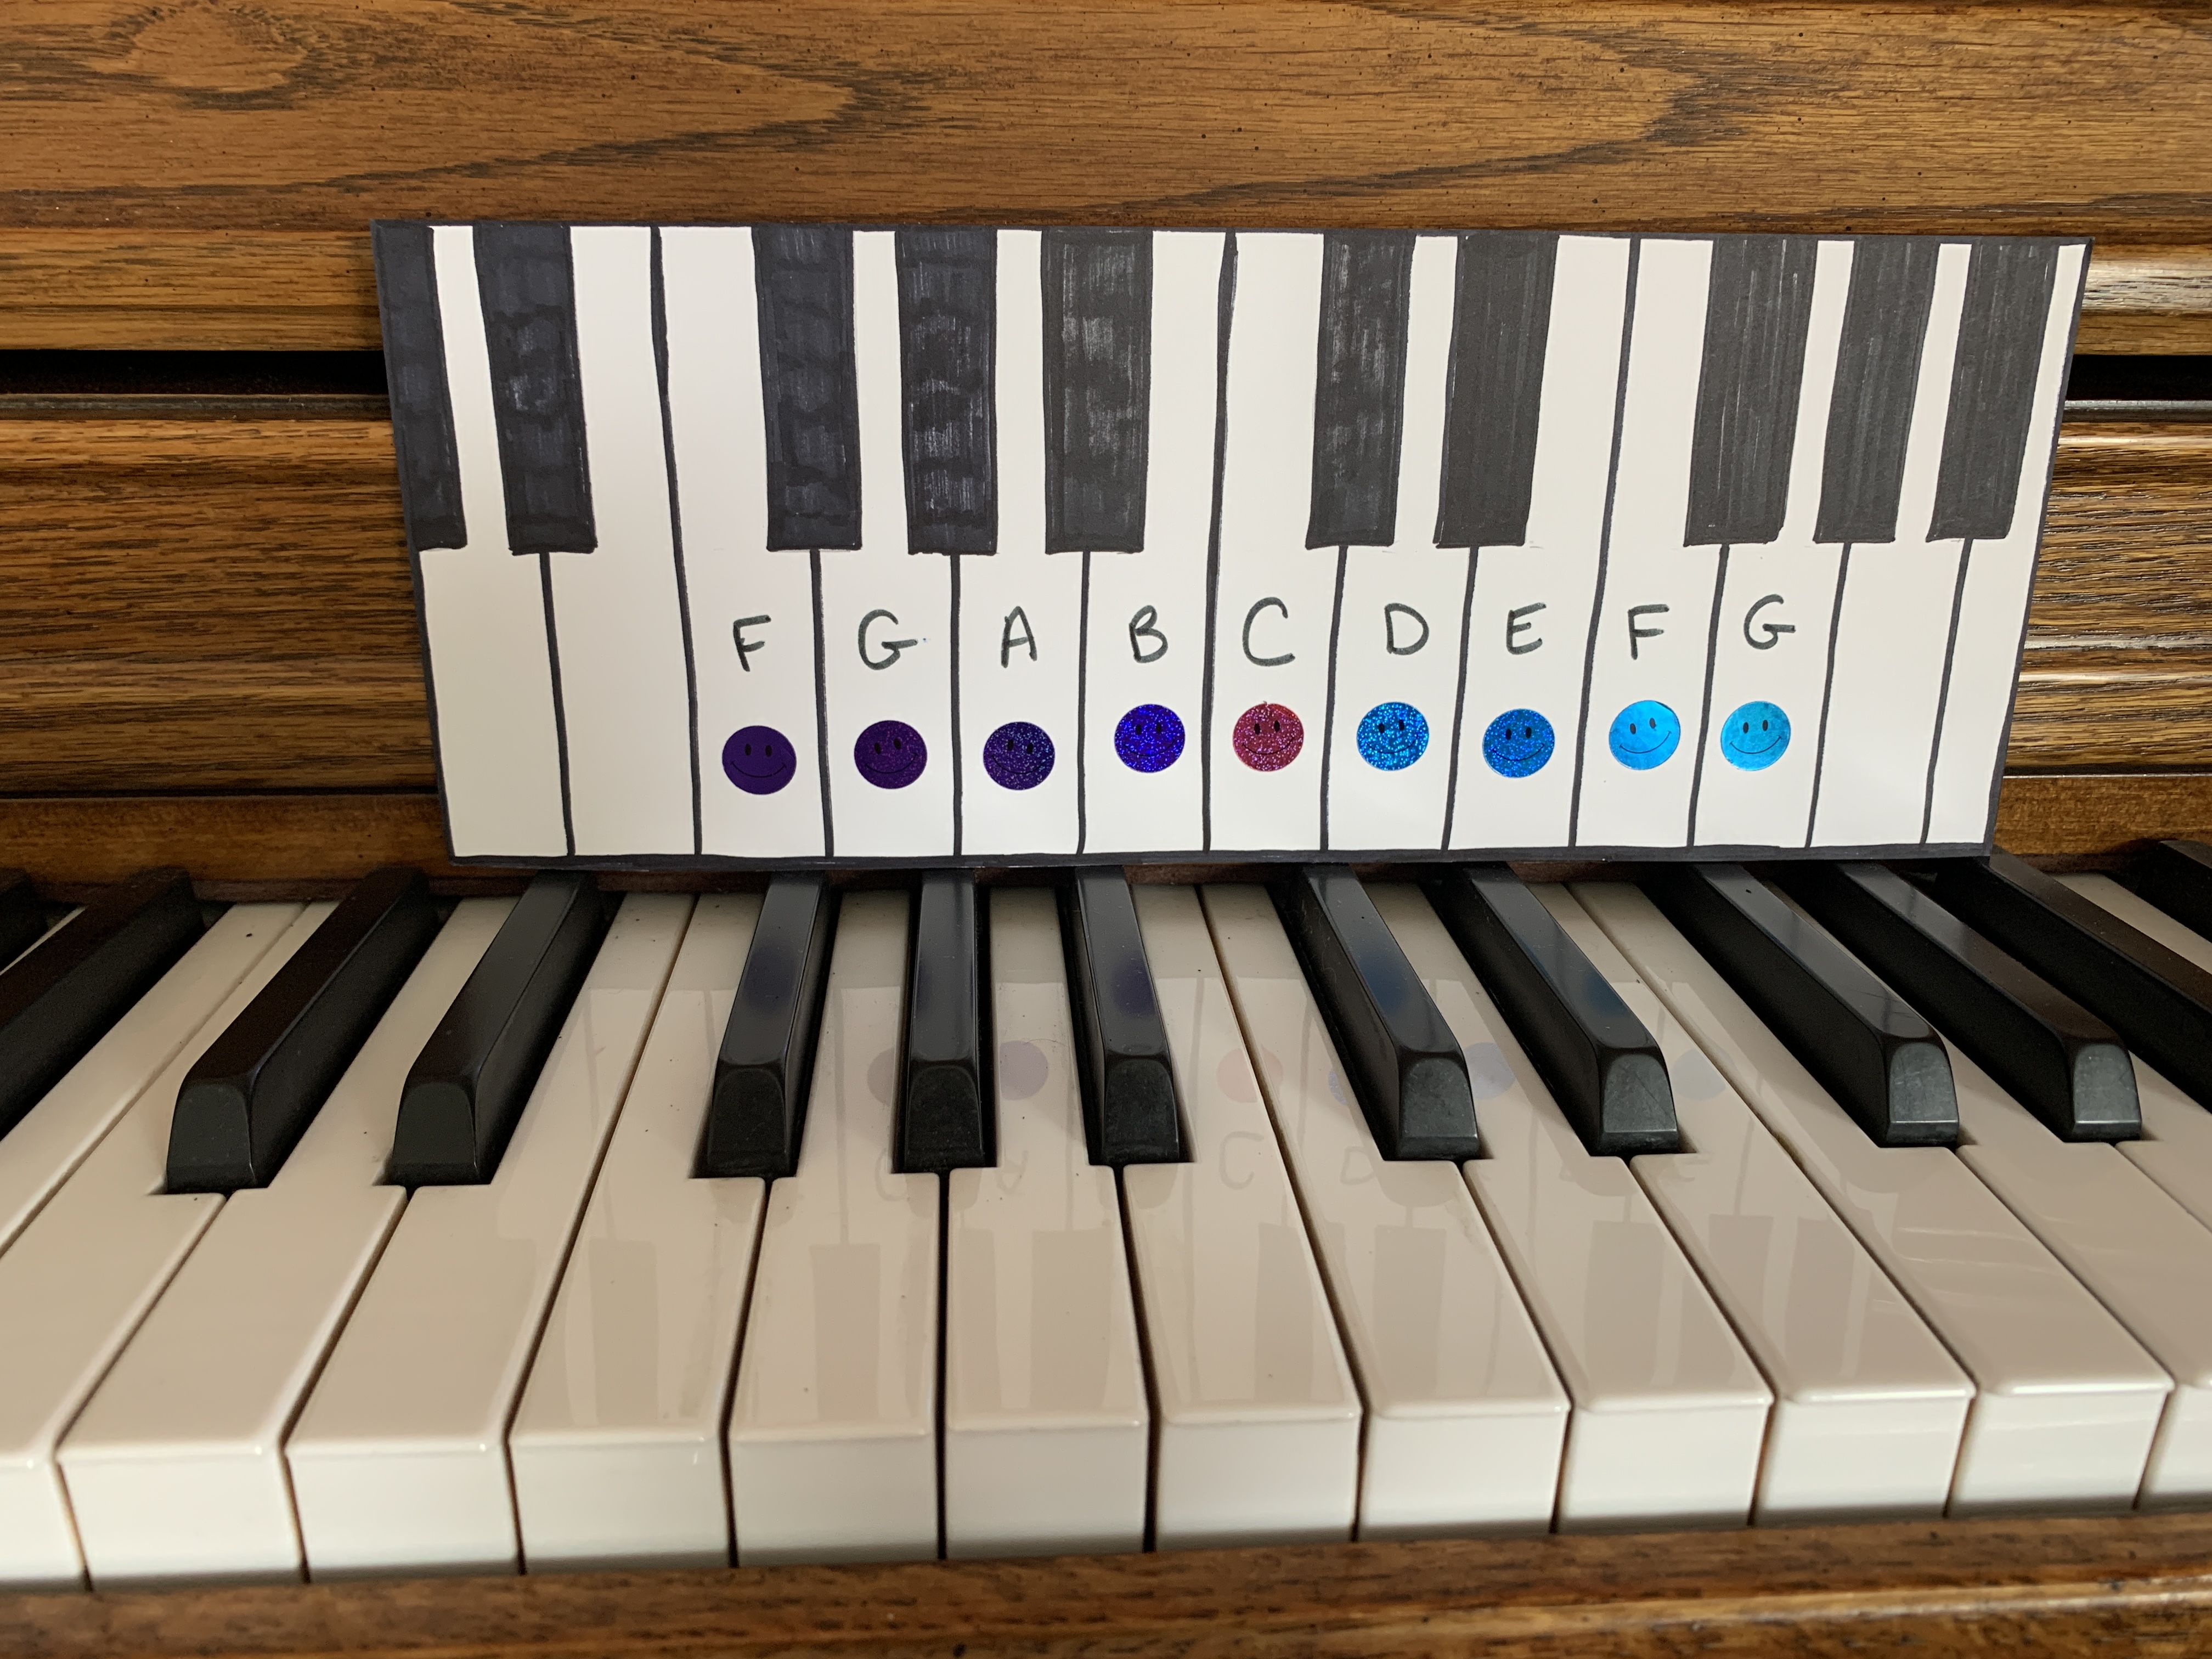
Regular C Position…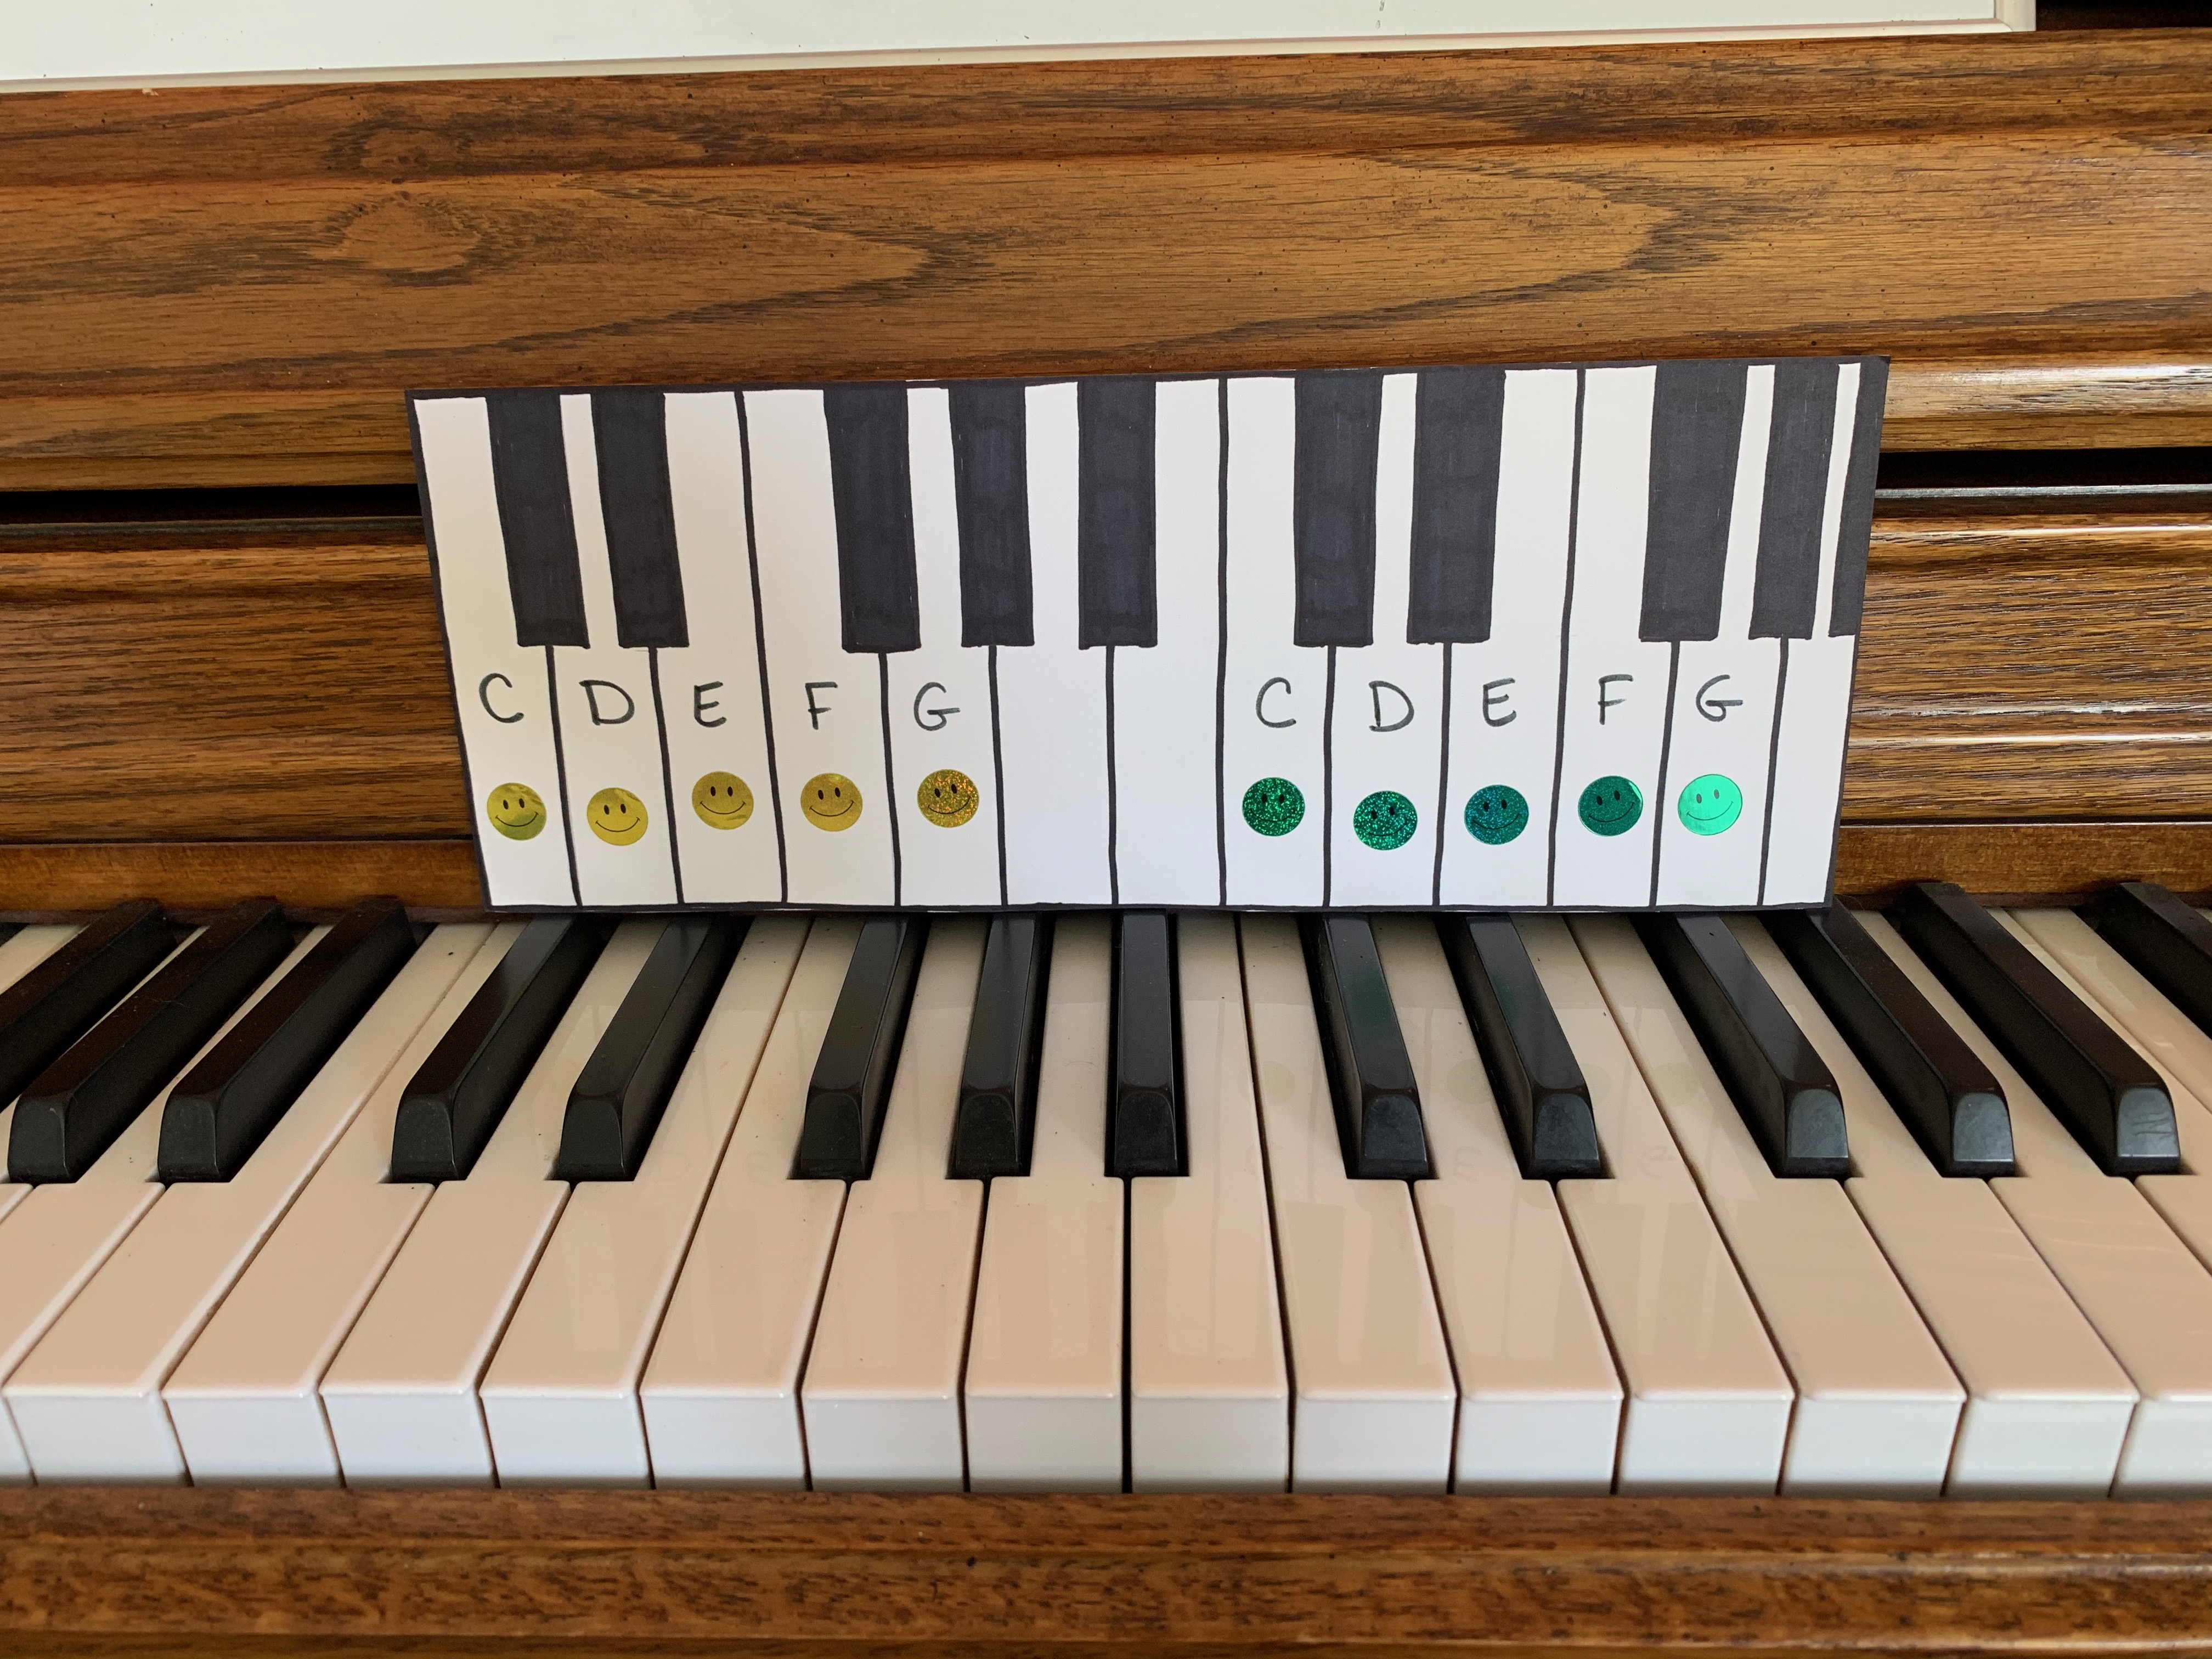
F position…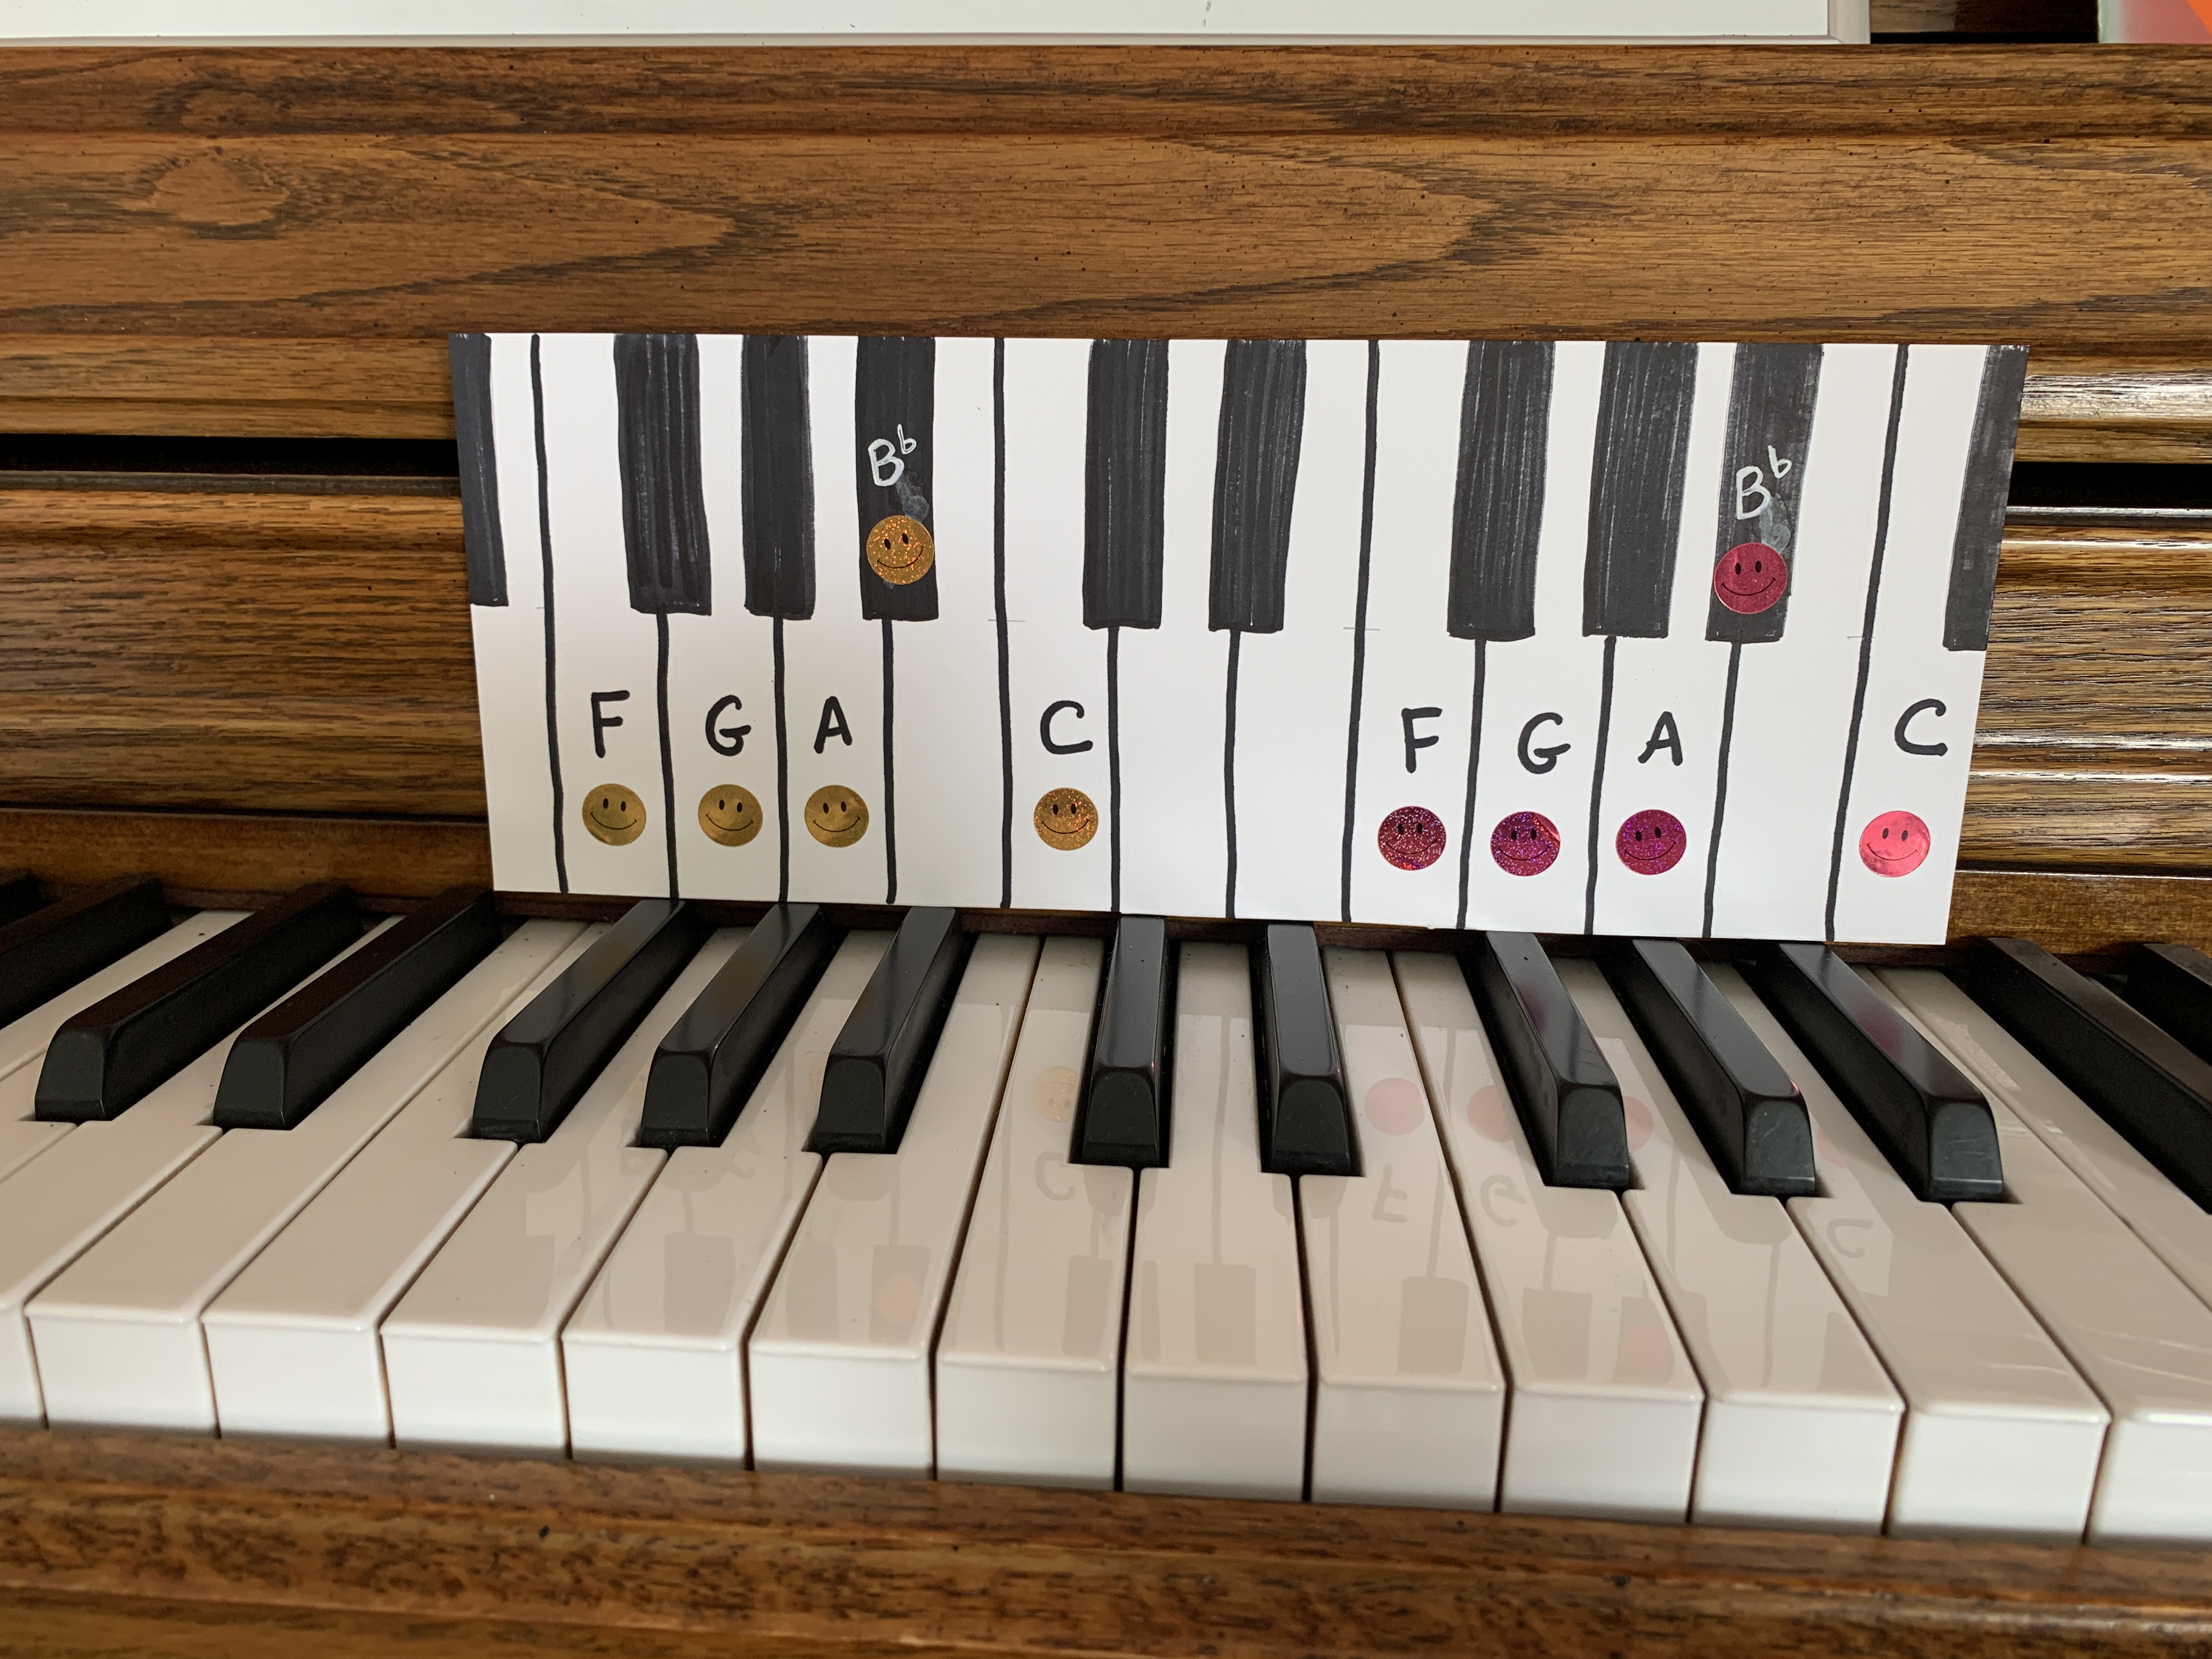
G position (Note: in most books we learn a lower G position for LH first, then later learn a higher one that’s closer to the RH. This G position shows the higher one, but can still be used for the lower one to help find the correct placement)…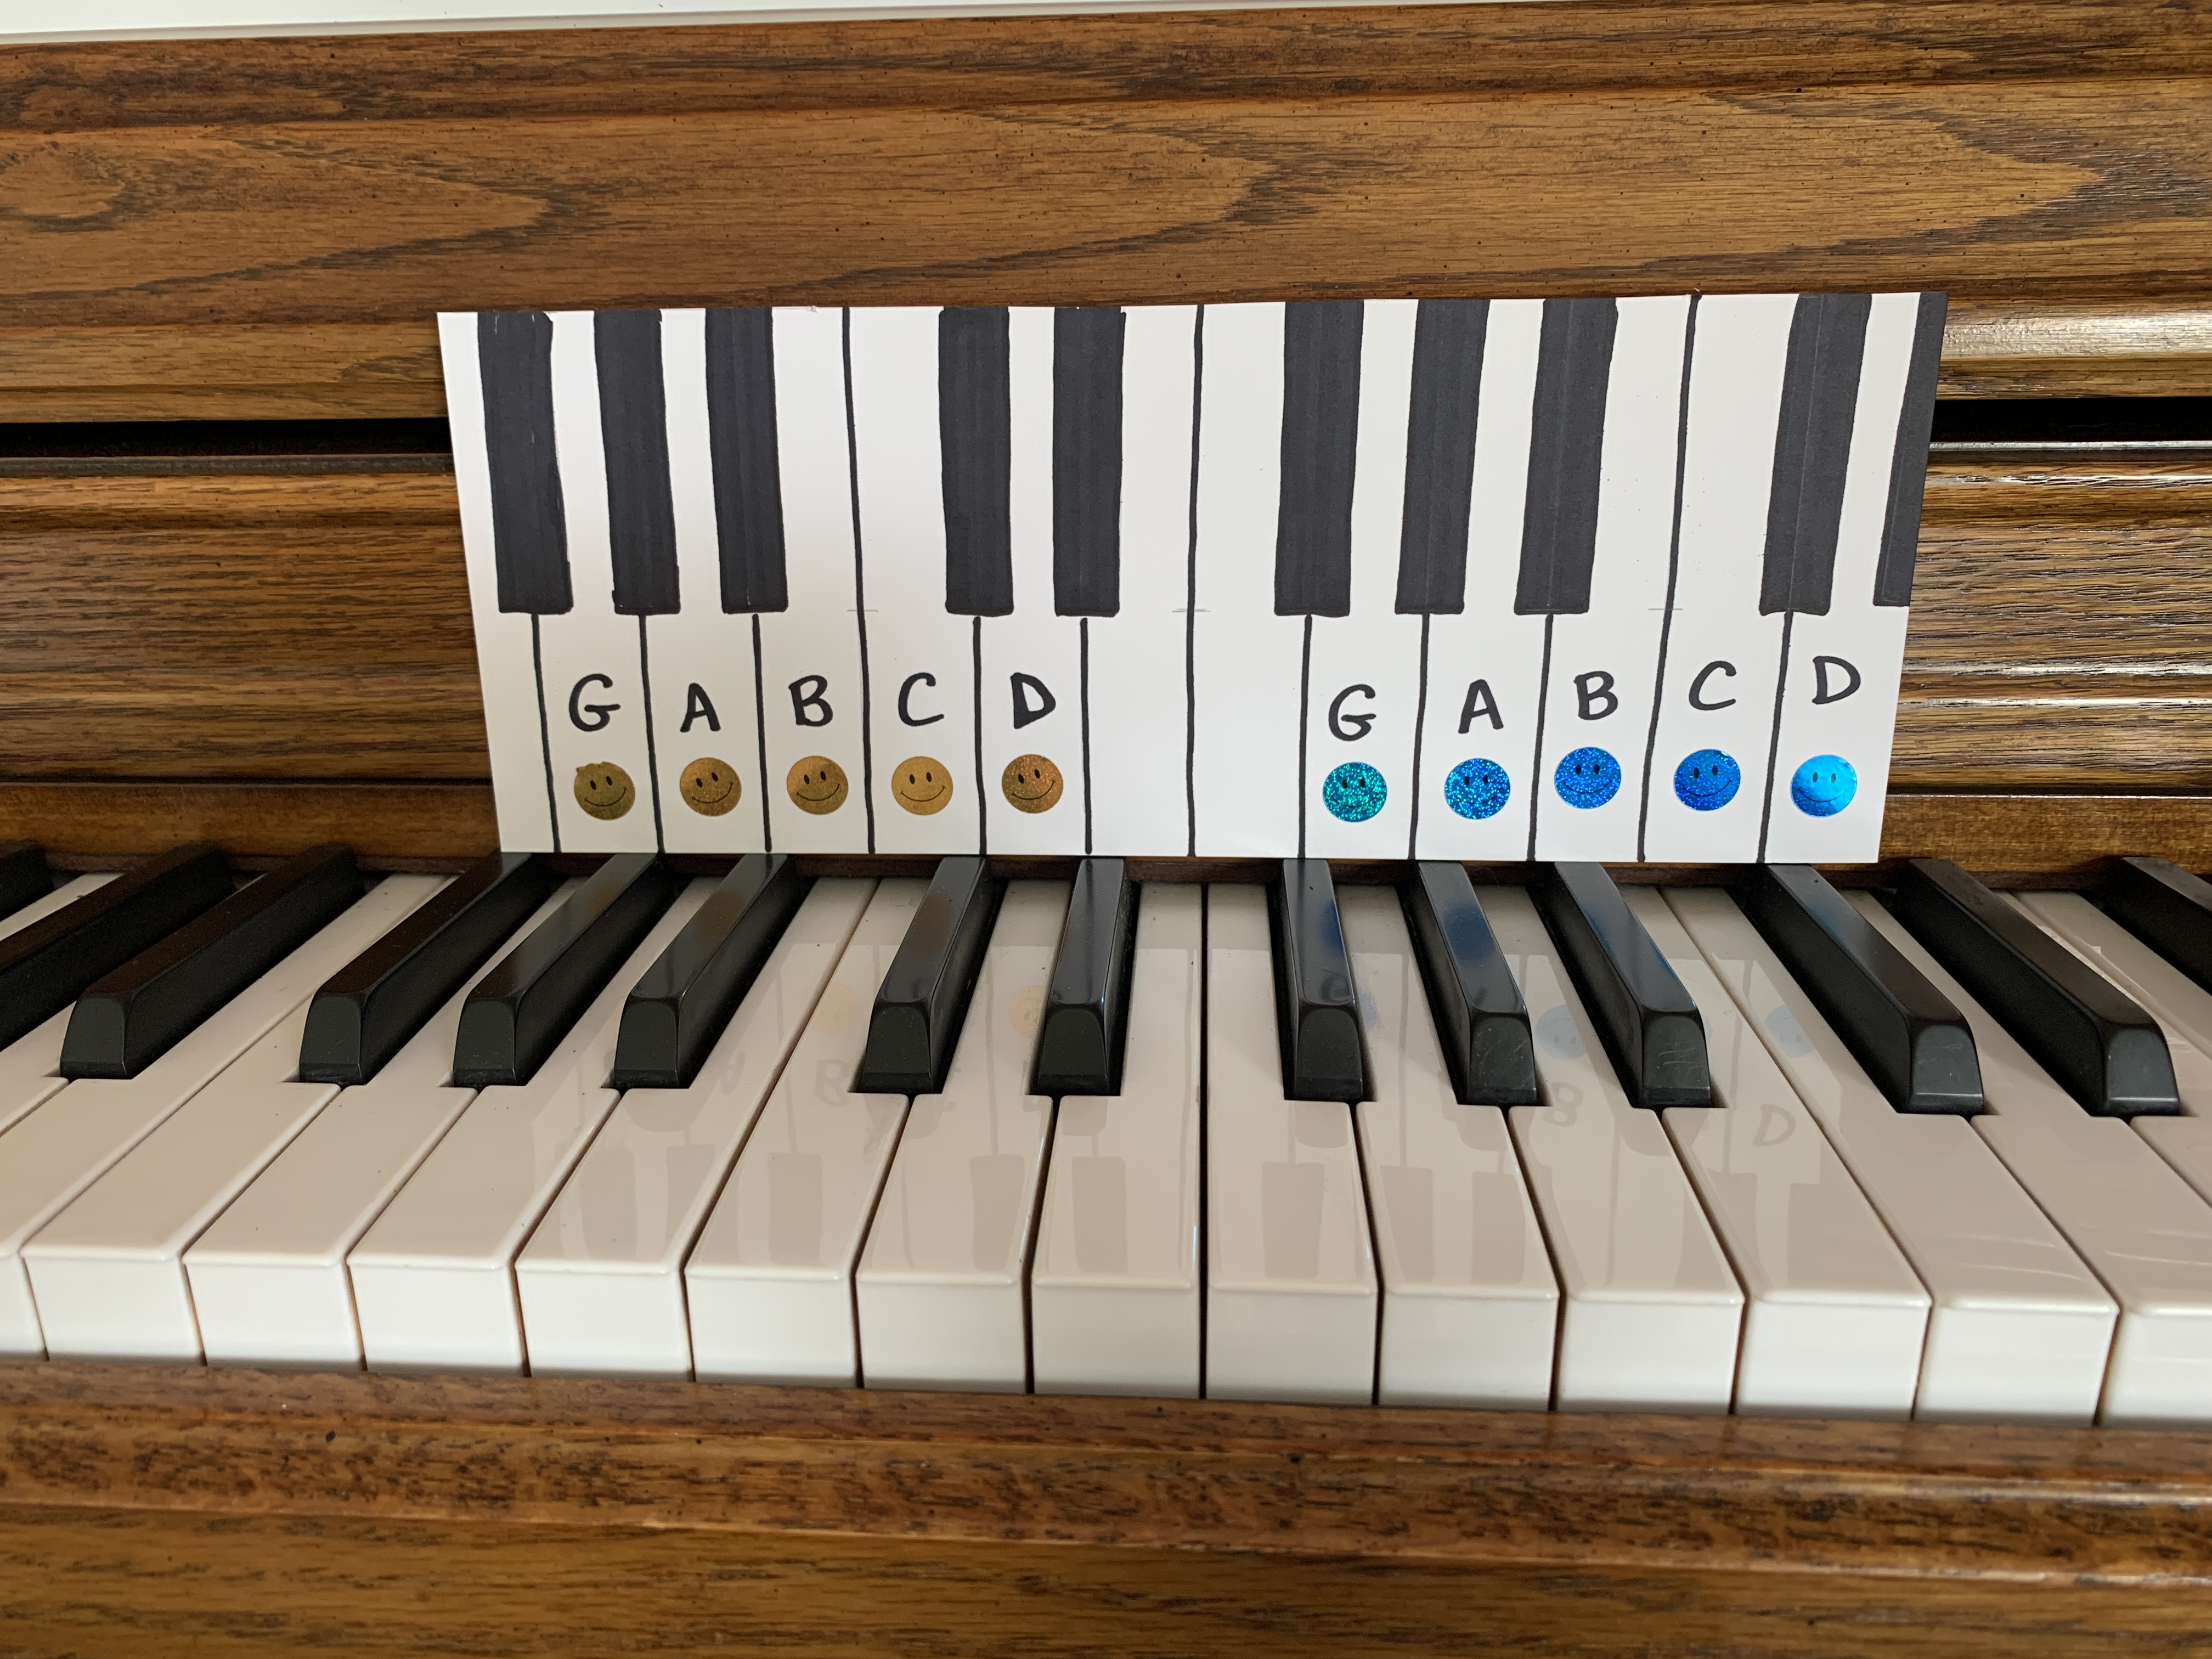
D position…
E position…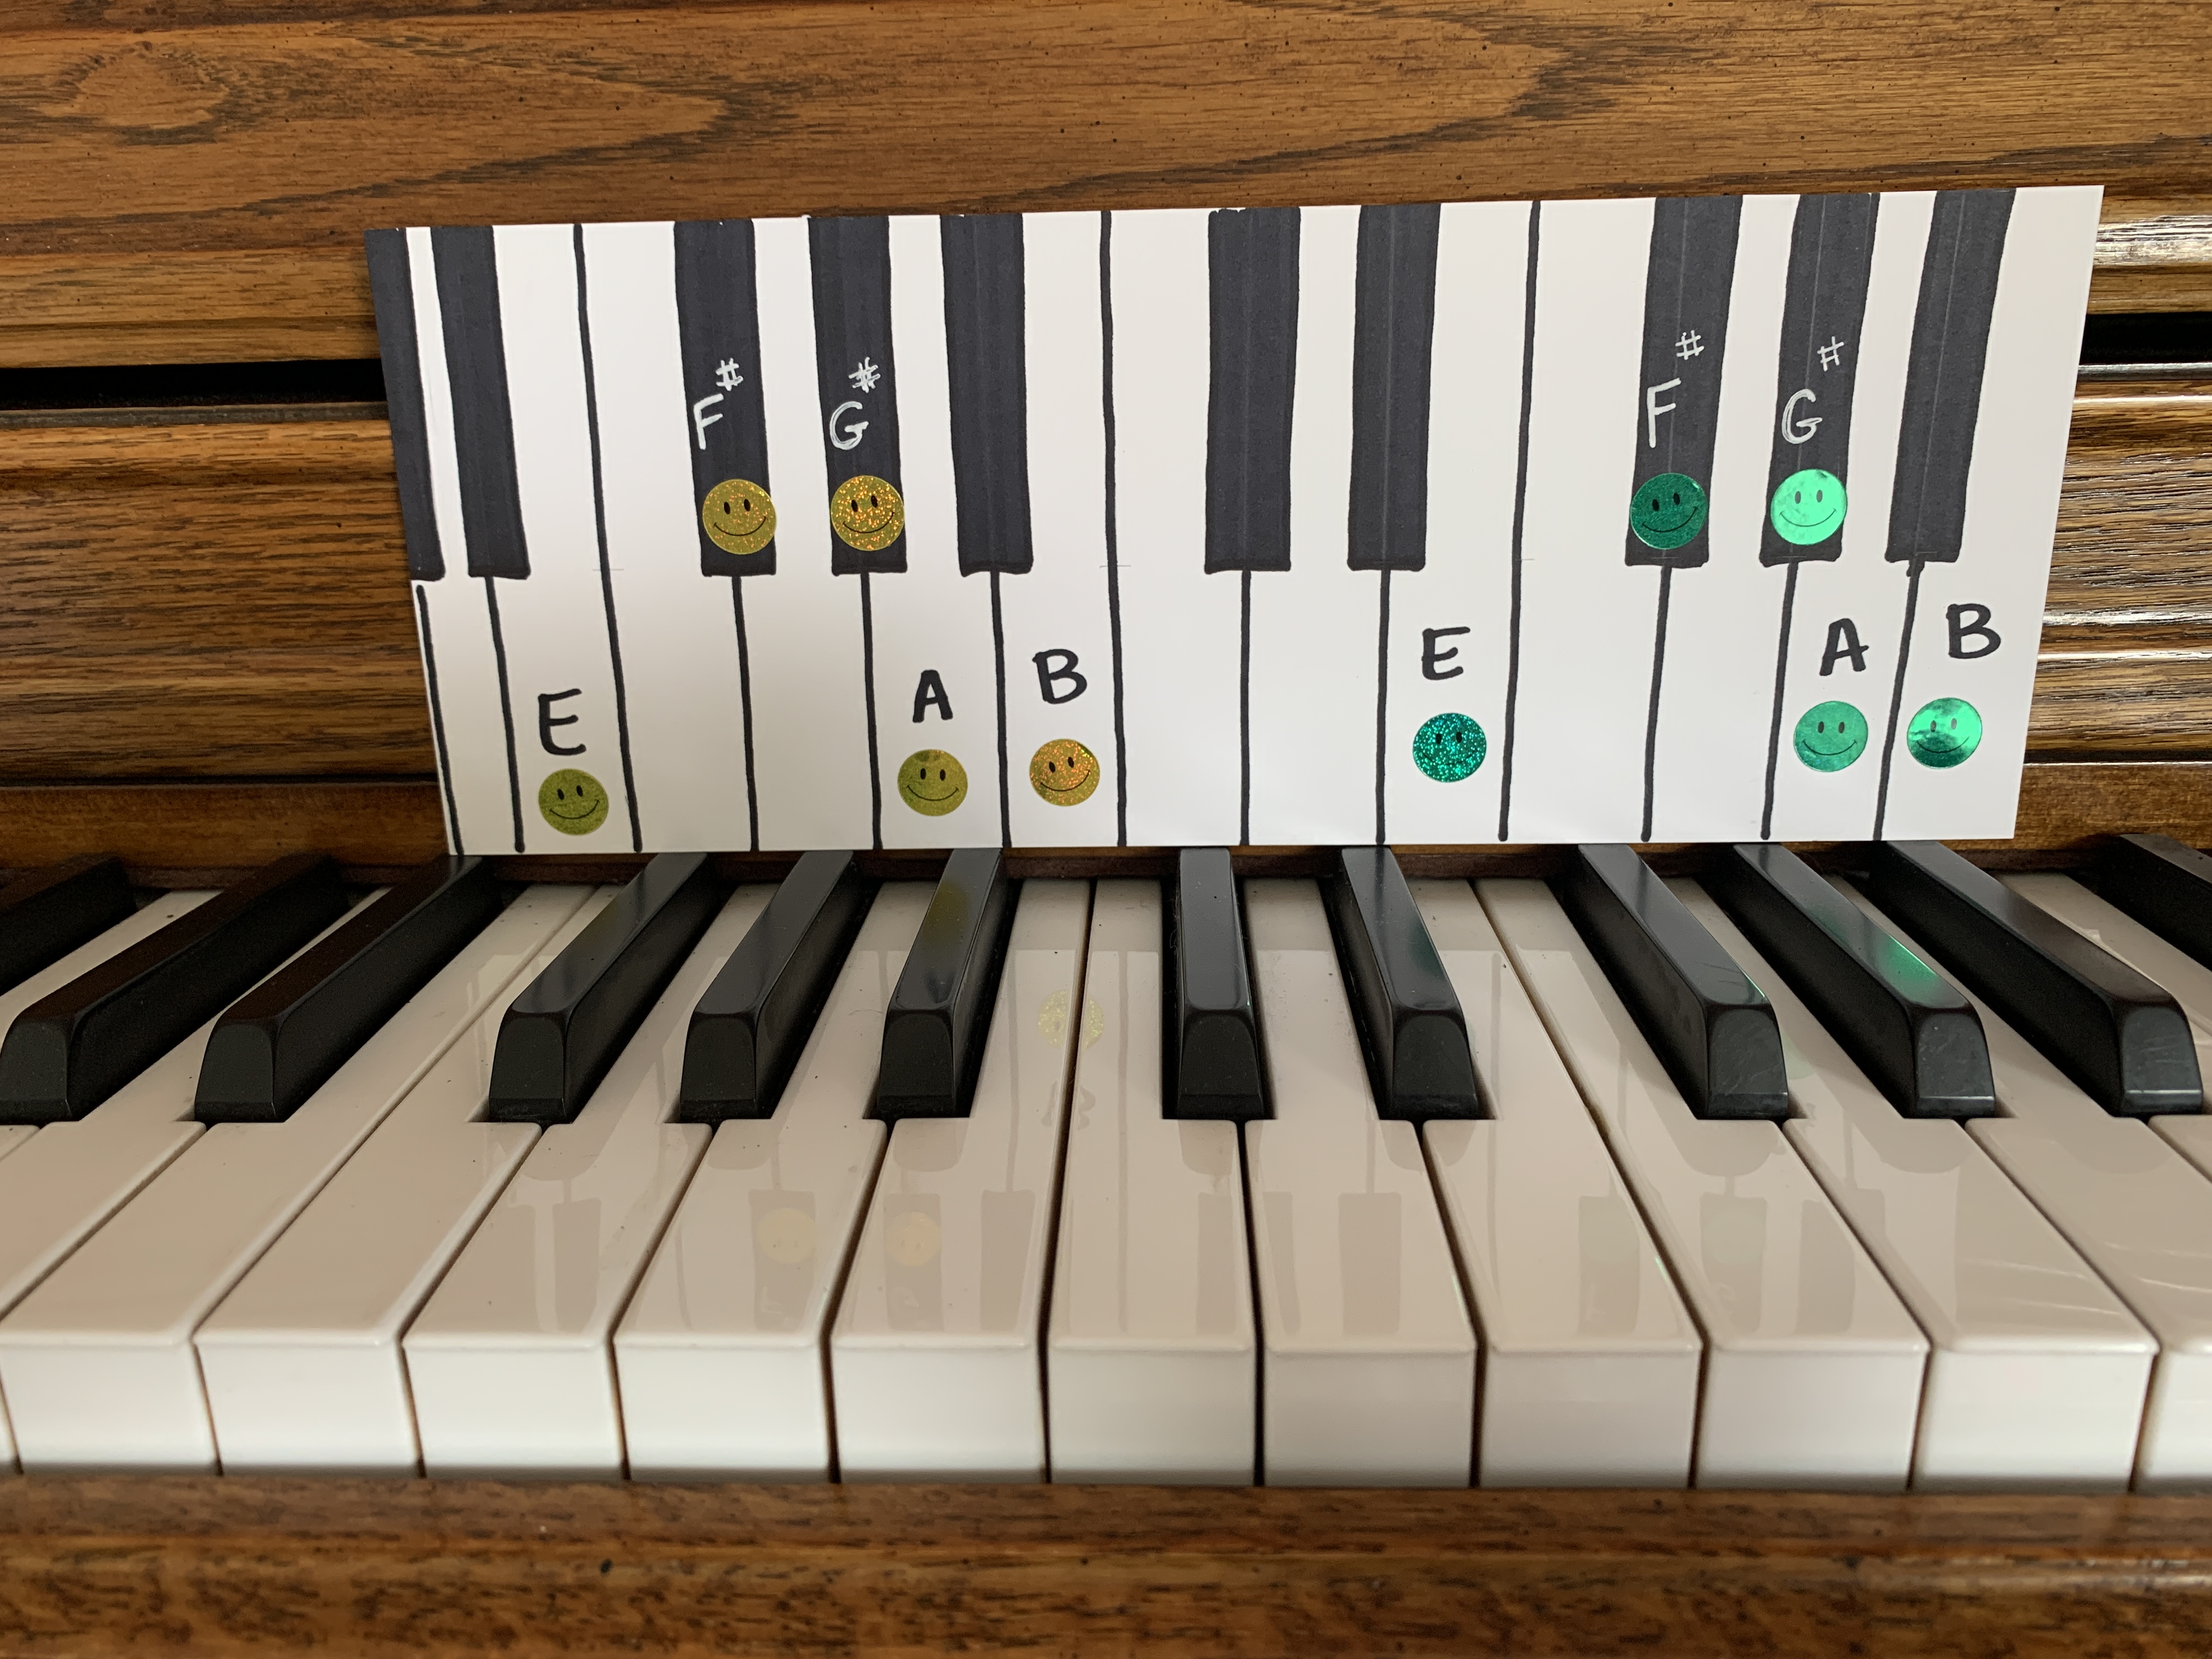
A position…
